How to Run Electricity to a Shed – Genius Underground Wire Tricks
Table of Contents:
- Introduction – Underground Wire: What You Need to Know
- What is Direct Burial Wire?
- How Deep are Electric Lines Buried?
- How to Run Electricity to a Shed
- Finishing Touches
- Do I Need a Permit to Run Electricity to My Shed?
- Must-Have Tools for Underground Wire Runs
Underground Wire: What You Need to Know
One of my favorite topics with homeowners is the fun task of bringing power from your home, where your main panel is, to another structure. You can do this by using underground wire like UF cable (Underground Feed), which is a type of direct burial wire, or with PVC conduit. Not all conduit is alike so remaining code-compliant in your area is of the utmost importance. Please check in with your local electrical contractor to be sure you are staying compliant for your area. Several authorities govern what is acceptable for proper burial depth and the allowable materials for underground wiring. Let’s go ahead and dig a little deeper into the world of underground wiring.
What is Direct Burial Wire?
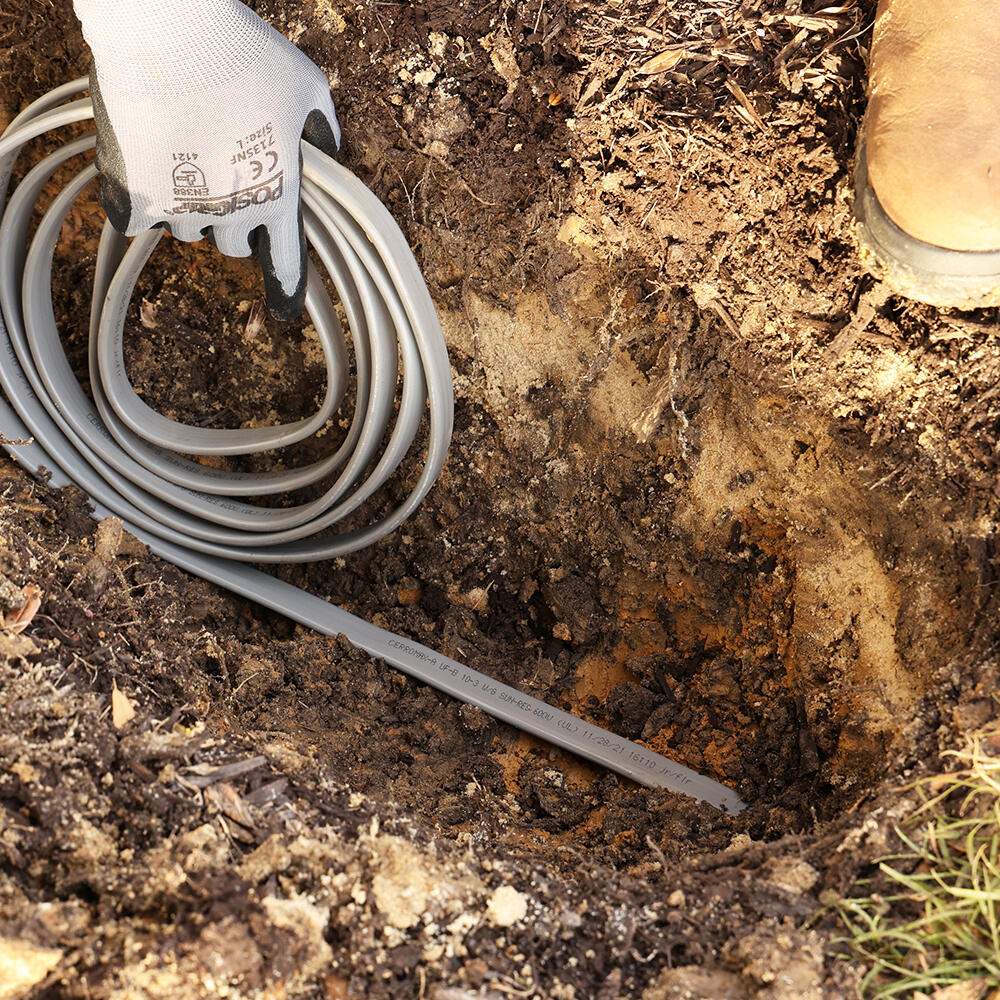 UF cable is a popular choice when designing an underground run to feed a sub-panel in a shed or anywhere else. UF stands for underground feed. It doesn’t need to be protected with PVC conduit or any code-compliant mechanical protection, as it covers all the requirements on its own. It eliminates the need for materials in the underground part of your run. But you will still want protection where it surfaces on either side for mechanical protection. The NEC states that buried wiring transitioning from underground to above ground must protect the conduit from the required cover depth of 18 inches to its termination point above ground or at least 8 feet above grade.
How Deep Are Electric Lines Buried?
By no means is this article meant to lay out the code book for you, as different countries adopt different codes to follow. But a general guideline is always helpful. For instance, let’s head up north to Canada. When running direct burial cable underground that doesn’t have a metal jacket, the cable must be 600mm under non-vehicular areas if 750v or less and up to 900mm under the finished grade in a vehicular area. If you look at Table 53 of the Canadian Electrical Code, you can see that if you run wire in PVC, your burial depth lessens to 450mm in a non-vehicular area. Your area’s legislation and code also detail the proper mechanical protection that must surround or be on top of the cable for a lessened depth.
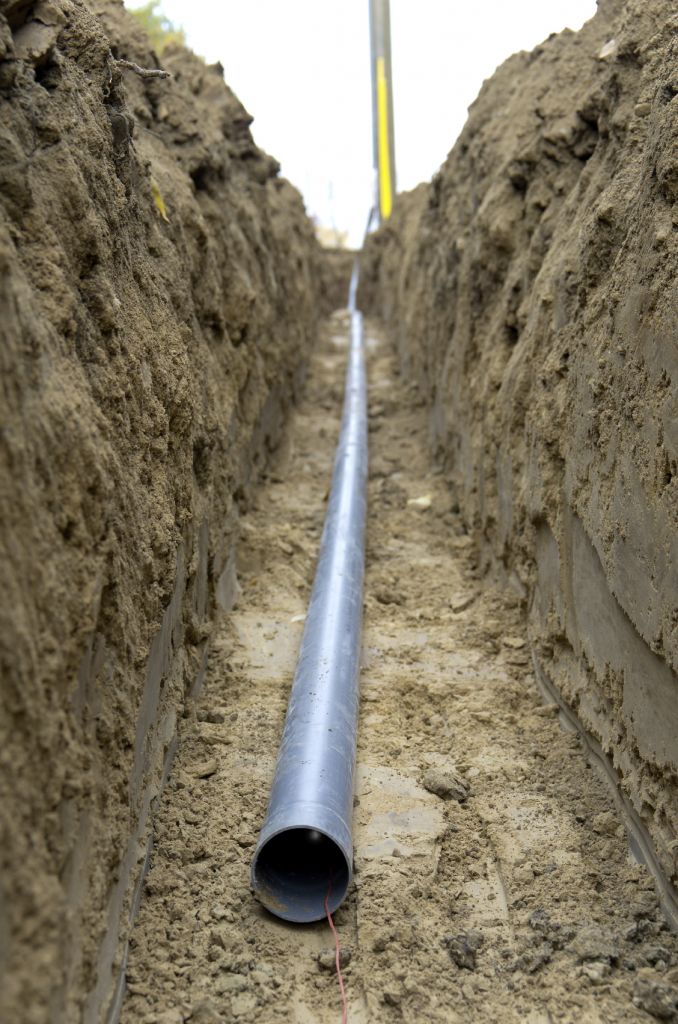 You’ll see similarities with many code rules between Canada and The United States. For example, UF cable can be direct-buried (without conduit) with a minimum of 24 inches (600mm) of earth cover – as stated in the Canadian Electrical Code. Wiring buried inside rigid metal (RMC), or intermediate metal (IMC) conduit must have at least 6 inches of earth cover. Wiring in PVC conduit must have at least 18 inches of cover. These rules can become quite stringent with the type of cover you may be using (Treated planks, substrates, etc.). So again, it is always important to stay informed and be sure you remain code-compliant.
How to Run Electricity to a Shed
So, let’s say you want to get power over to that shed of yours. The design is simple so long as you are doing your research. You can run underground wire, use electrical conduit, or run an overhead line. The best method, from my standpoint, is direct burial wire or underground conduit. If you strip your project back, it’s a feed from point A to B. Just make sure you satiate the few requirements needed for your run. You will need to find your line from your panel to the exterior of your home, then use a connector to have your feed reach the exterior. Remember to use rated straps to secure your cable.
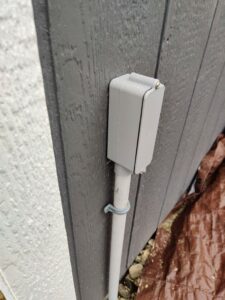
I usually use a fitting called an LB to transition from the interior to the exterior. From there, a PVC stem for mechanical protection reaches a depth of 18″ (Must be code compliant), and then the UF wiring runs along the trench. Remember, you must use burial tape along the trench to prevent someone from digging too deep and cutting into the wire. But by far, the best method is a treated wood plank over the wiring to protect it completely. Doing this will also lessen your required burial depth. From there, you want to protect the other side of your run as it emerges from the surface with conduit at the proper depth. Then, it’s an LB into the structure requiring the feed and into the panel.
Often you will have to pull wire through long trenches to reach the secondary structure that you’re running power to. This can be a bit tough when you have to change directions or go around obstacles. Using a versatile wire dispenser like the Tug Wise from Rack-A-Tiers takes the headache away. This thing spins the wire spool while you pull so you can pull wire in any direction as far as you want. Check out this video of the Tug Wise in action.
Finishing Touches – Lighting, Appliances, & More!
Now is where the fun starts. Now you have your power. After you have protected your run, laid your burial tape, and strapped all your wiring, you get to plot out your branch circuits. That means you now get to design your lighting and plug layout, and that is always a fun time. Appliances, sconce lighting, motion sensors, and reactive LED lighting are all now in your hands, provided your feed can handle the required power. Now, this is a stripped-back version of a project like this, and as they say, there are many ways to skin a cat. Do your research. You may want an exterior mounted conduit (EMT), an underground conduit (DB2 PVC), or you might want to run it overhead—plenty of options.
Do I Need a Permit to Run Electricity to My Shed?
Consult your electrical contractor before doing your work. Make sure to consult your local code rules. You will need to get a permit as this is considered “Regulated.”
Must-Have Tools for Underground Wire Runs
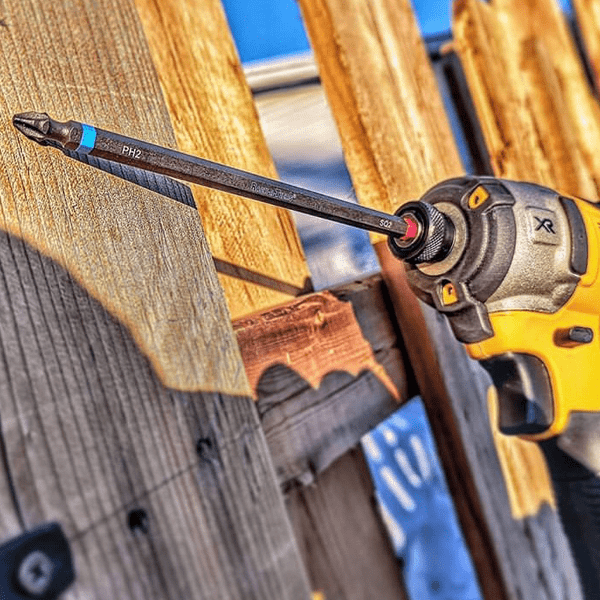
Let’s review a few necessary tools for your venture. First, you’ll want a good drill and impact driver combo. I prefer Milwaukee, but if you use something else and it gets the job done, I’m all for it. What’s an impact driver without the double-ended impact bits from Rack-A-Tiers? Now, I may be biased, but you won’t catch me on-site without them. You can’t argue the versatility of a 2-in-1. With these pieces, your strapping will get done in no time.
See Our Collection of Double-Ended Impact Bits
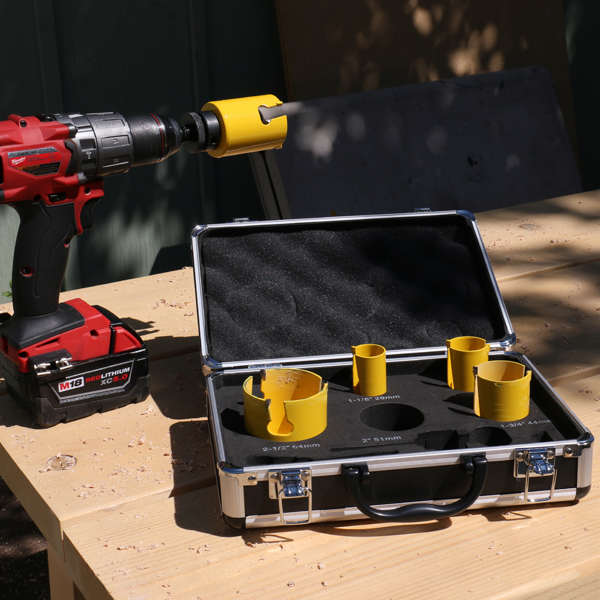
Of course, to keep in the vein of excellent tools, you’ll need a sound hole saw kit to get yourself to the exterior. I recommend the Carbide Tipped Hole Saw Kit for Wood and Drywall, available at Rack-A-Tiers. This high-quality kit covers you from a 7/8″ hole to a 2 1/2″ hole. The carbide tips ensure longevity and sharpness so you can trust that these hole saws will always perform.
Check out the Carbide Tipped Hole Saw Kit for Wood & Drywall
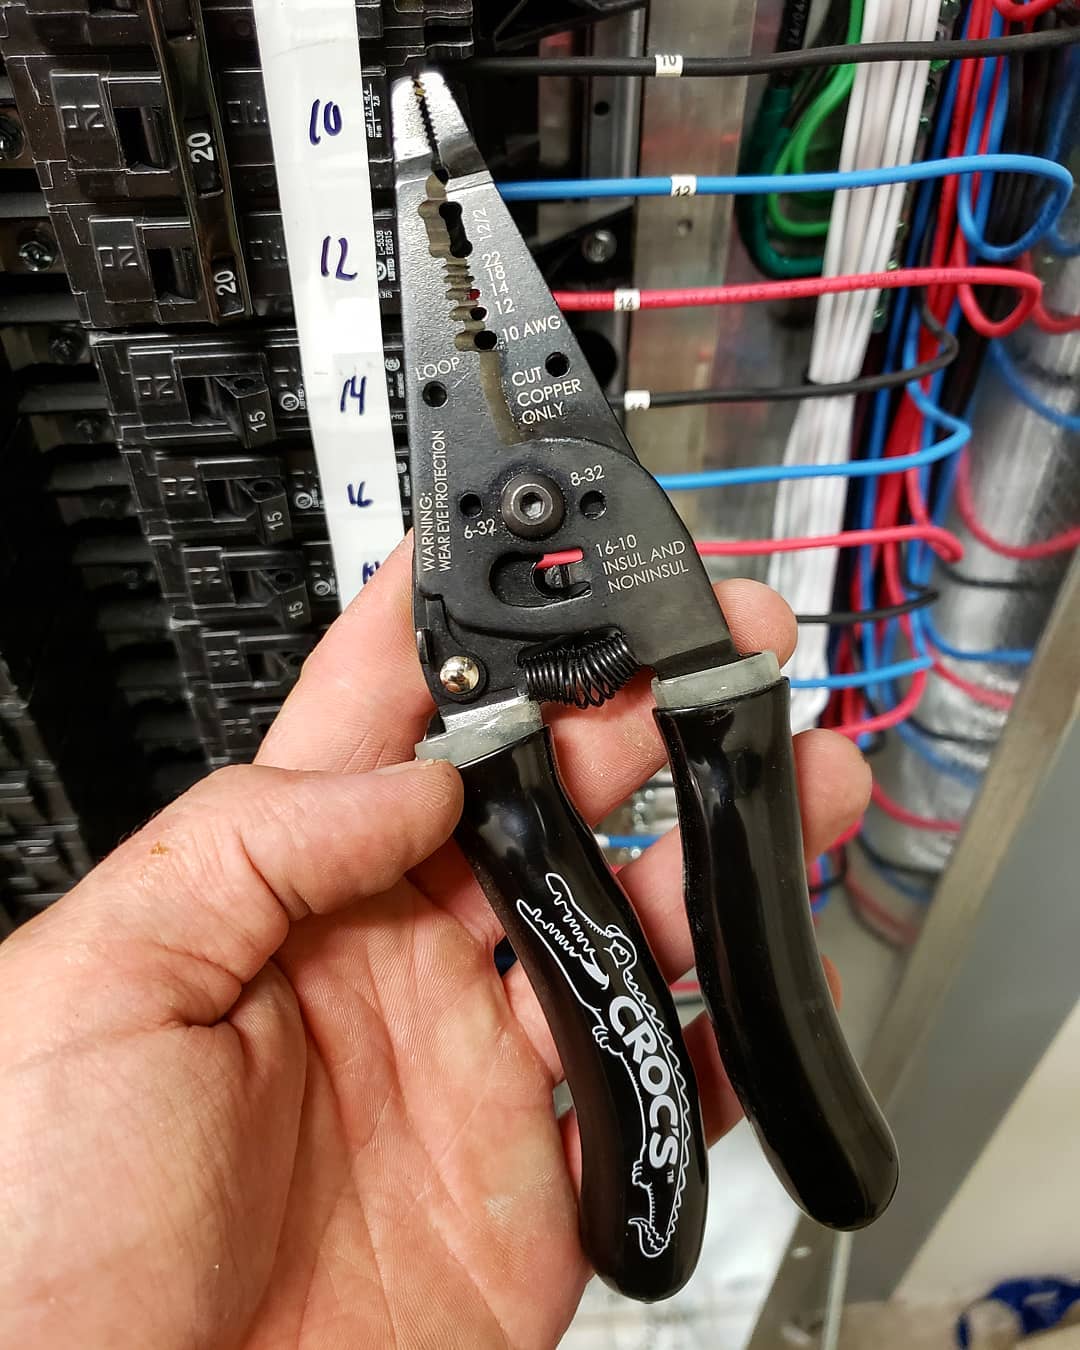
And what’s an electrical project without a good set of strippers? My everyday strippers are the Croc’s. They strip #10-#22 AWG wire and have a needle nose tip to help with various tasks. These strippers are tough and practical, designed to be your go-to choice. Whether you’re stripping, cutting, or crimping, these wire strippers from Rack-A-Tiers are a must-have in your toolkit
Check out the Croc's Needle Nose Wire Strippers
How to Bend PVC Pipe
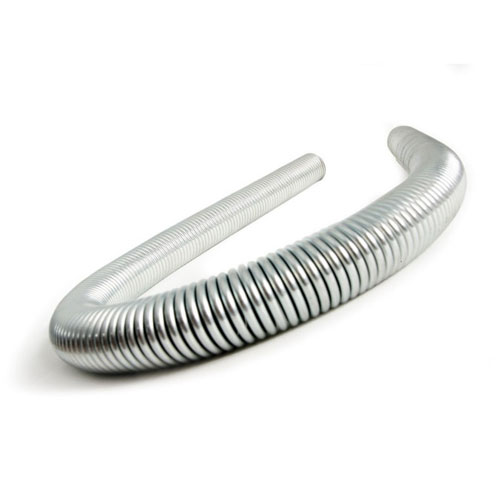
And, of course, there will undoubtedly be some PVC work. For PVC, Rack-A-Tiers created two tools to make your life easier. Firstly, the Pipe Viper. If using Schedule 40 PVC, this unit is a true gem. Save yourself money on pre-bends, glue, and labor time by putting your PVC into the Pipe viper and then using your knee to “Cold Bend” your stick. This beast works like a charm and will help you make those bends quickly.
Check out the Pipe Viper PVC Bender
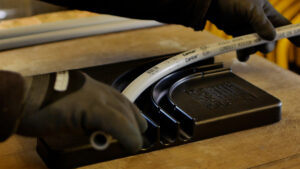
The other time saver is the Bender’s Friend. Aptly named, this tool is just that. Say goodbye to your kinked 90’s and use this template for a perfect 90-degree bend. When paired with heat, this template gives your PVC ideal form over the 90-degree channel on this innovative tool template.
Rack-A-Tiers Has Got You Covered
Alright, I’m a tad biased. I see it now, but I can’t help it. Boasting a selection spanning from auger bits that chew through wood, their AC voltage tester for live wires, masonry bits and anchors to secure strapping to concrete, Rack-A-Tiers has all the goods to get you on and through your project. I hope you enjoyed the read. Be sure to research and take the proper steps per your local codes to remain compliant and, above all, happy wiring!
